
Our Split-Dedicated and Dedicated Server plans allow you to create as many cPanel users as you want, and manage their accounts from one central location. This functionality can be found under the "Security" section in cPanel, by clicking the link titled "Manage cPanel Users".
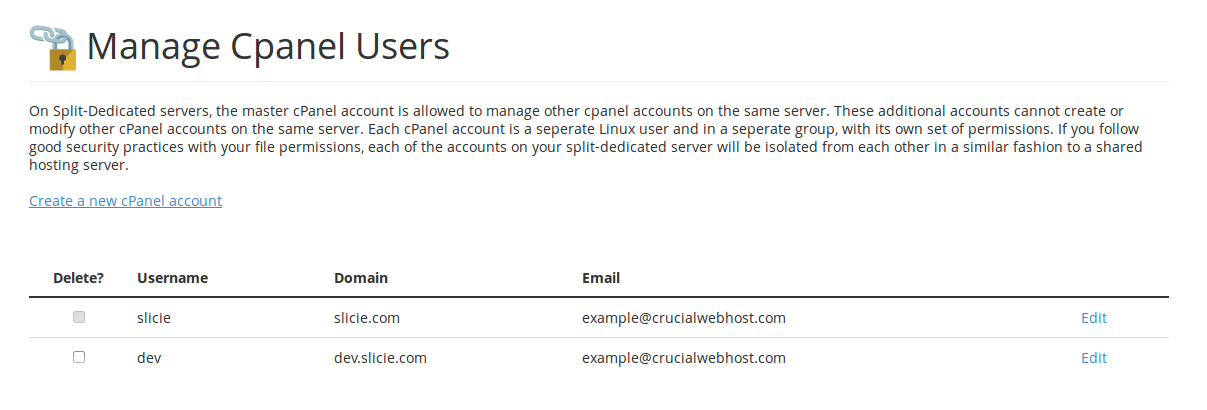
The screen-shot on the right illustrates what an example account of ours looks like, which we will use for this article. You can see we have two accounts. The primary account (which we are logged into), is the user "slicie". You can always tell which account is the primary because of the disabled option to delete it, as well as the fact that this page is only accessible from the primary account.
Security Considerations
This exclusive feature is especially useful for isolating the security of your accounts. Linux has many permissions which relate to user-level access, so by isolating different sites on different cPanel users, you can restrict their access. This may not seem like a useful thing for normal use; however, it is extremely beneficial to prevent an exploited site from affecting other sites on your server.
The most exploited software we see by far is Wordpress, yet most of our customers also run Magento alongside it. This is something we strongly discourage, because when their wordpress blog gets exploited, the attacker now has access to their e-commerce platform. By placing the wordpress blog on its own cPanel account, using this tool, you can isolate the problem to the account used by the wordpress blog.
Creating a new cPanel User
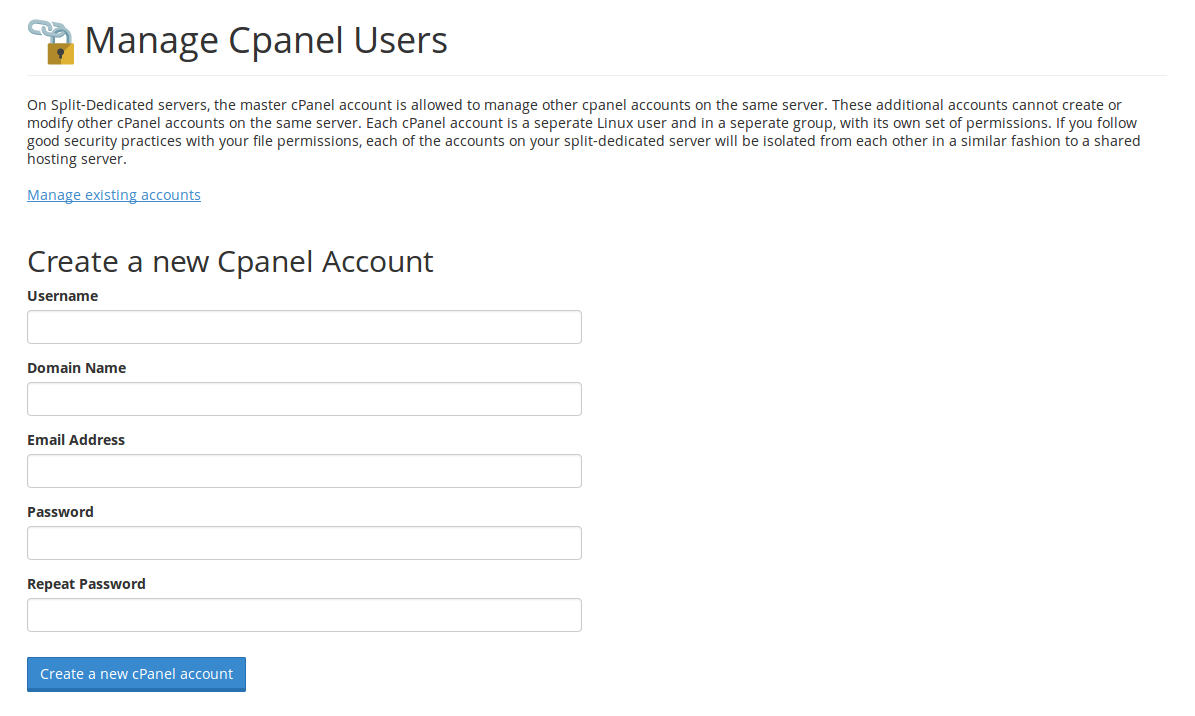
The process of creating a new user is fairly straight forward. There is a link on the main tool page that says "Create a new cPanel account", which you should use. Once you click through that link, you'll be on a page that looks similar to the screen-shot on the right. You are welcome to use whatever username you like. cPanel has some rules on the username requiring the username to be between 5 and 8 characters, but besides that it's fairly lenient.
Aside from considerations related to your username, you must ensure that a primary domain name isn't shared between more than one server; this is a requirement due to the nature of nameserver clusters. If you do not use our nameservers for your DNS, we can remove this limitation by request.
After you have created your cPanel account, you can immediately long into your cPanel account. To do this, access cPanel's login in the normal fashion (you can log out of your live session), and then log in with the credentials you've just created.
Modifying existing cPanel accounts
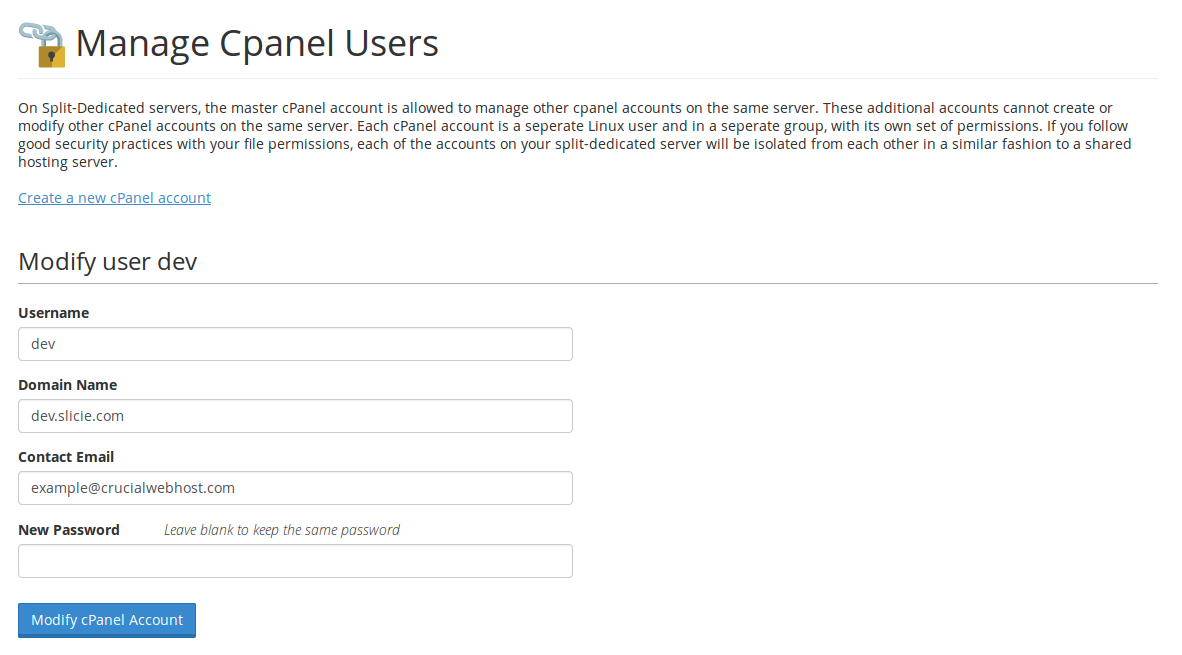
You can modify any existing cPanel account on your server. There are only a small number of things you can change about a cPanel account, and it effectively allows you to create accounts identical to your primary account without the same permissions.
The screen-shot on the right shows what the form looks like with your example account.
Terminating existing cPanel accounts
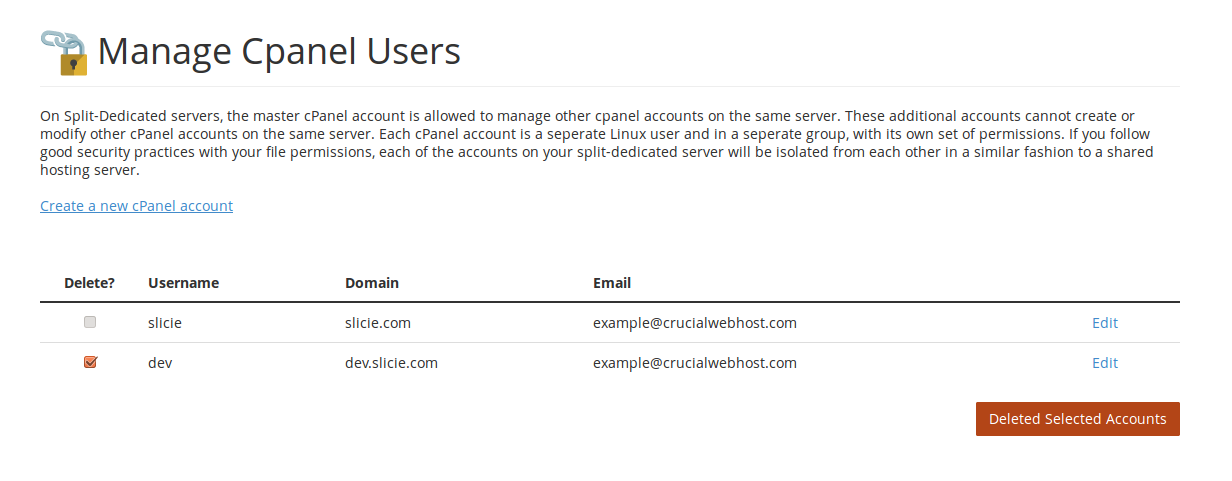
Terminating an existing account that you've created is an easy task. Simply toggle the checkbox in the "Delete?" column, which will present a new submission button on the right. Once you submit the request, the selected account is immediately deleted. The only exception to this tool is that you cannot delete your primary account.